Add Server Provider
These are steps to take if this is a new client or client site and their Digital Ocean account isn't already connected to our Forge account. i.e. We don't have an active entry in our Laravel Forge Server Providers page for that client's Digital Ocean account.
Note that this assumes the client's account has already been setup in Digital Ocean and that FC has been added to it so that we can manage their Digital Ocean resources.
After completing this, you'll be able to provision Digital Ocean virtual machines directly from Laravel Forge.
Resources used
Steps
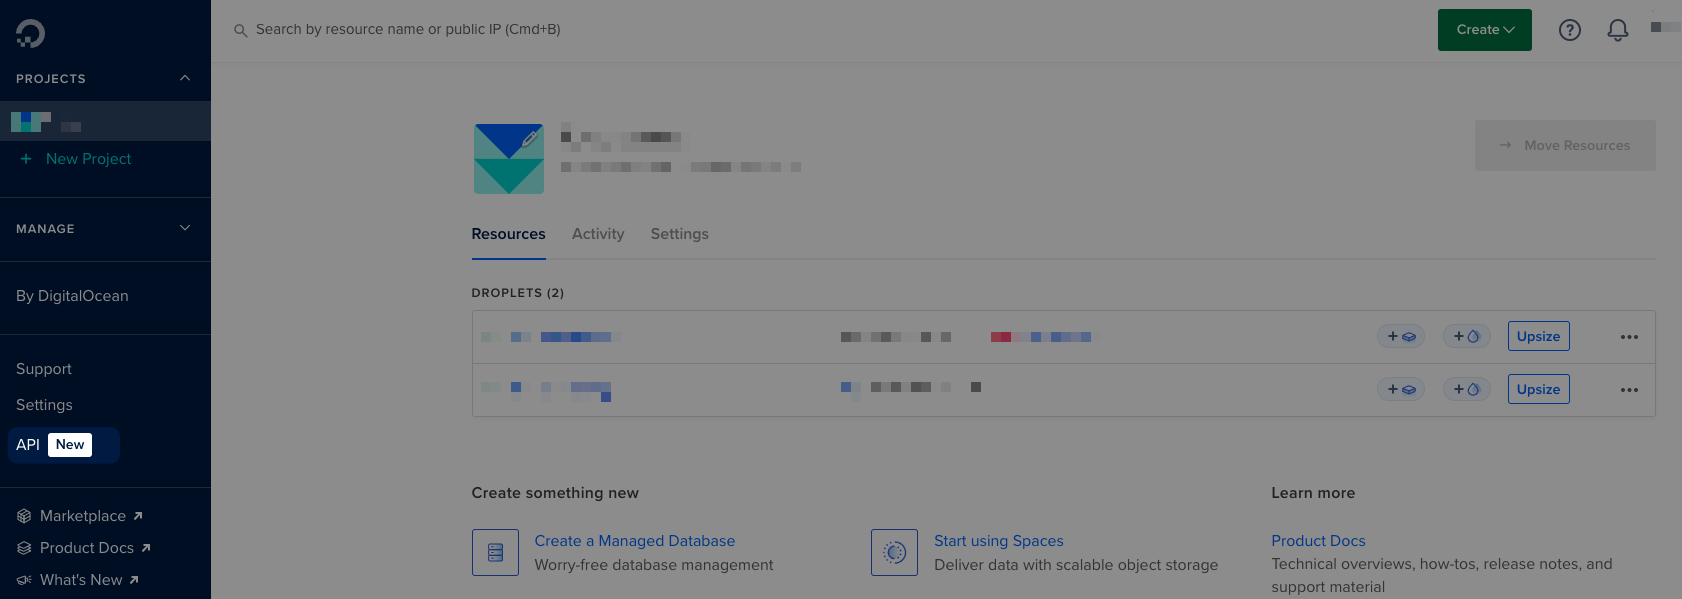
- Navigate to the clients Digital Ocean dashboard
- Navigate to the API settings page.
- On the Applications & API screen on the Tokens tab, select "Generate New Token"
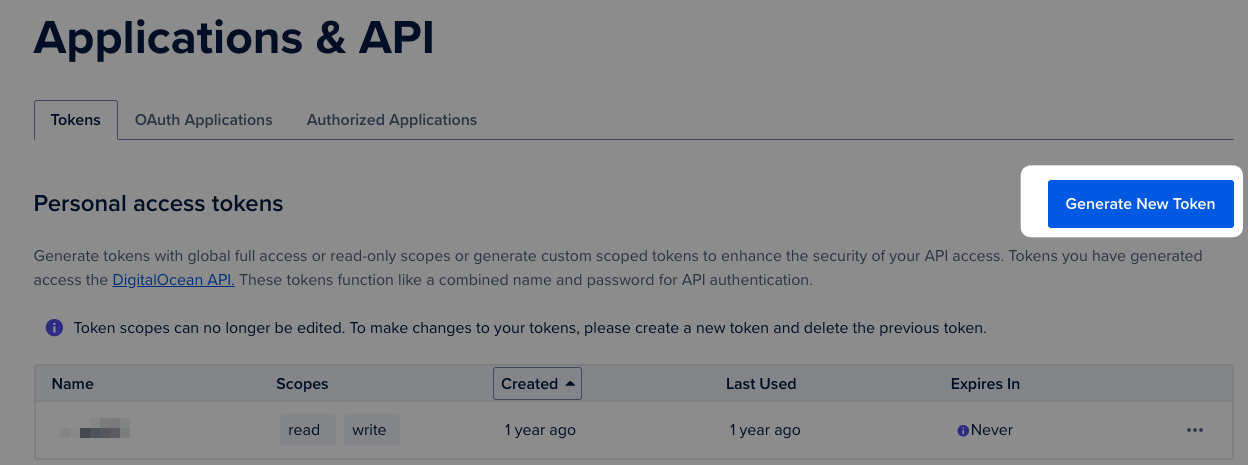
- On the "Create A New Personal Access Token" page, enter the following details:
- Token Name:
forge - Expiration:
No expire - Scopes:
Full Access
- Token Name:
- Click "Generate Token"
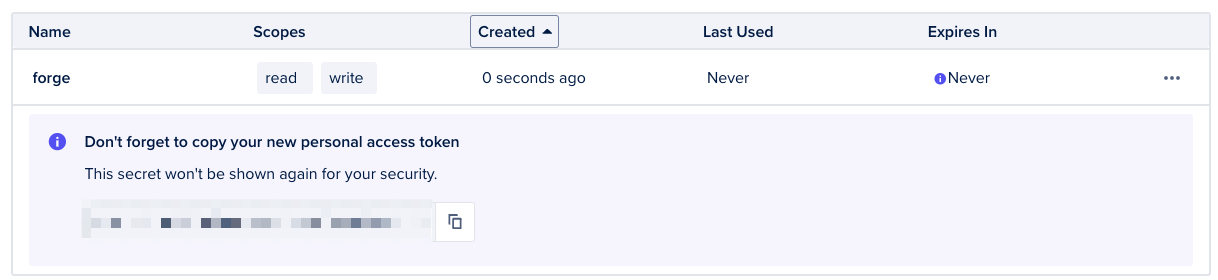
- You'll be redirected back to the token listing page, and you'll be shown your new token secret (this is a once-off, then you'll not be able to see it again)
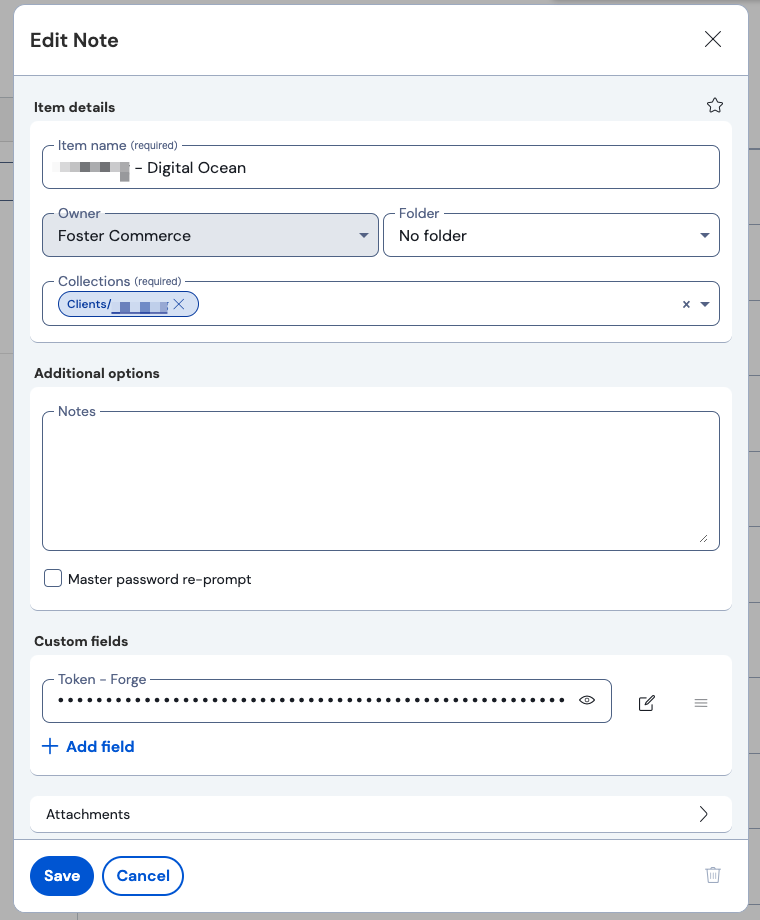
- In Bitwarden, under the clients folder, create a new Note called "
- Digital Ocean" if it doesn't already exist. - In that note, add a secret field called "Token - Forge" with the value of the token generated above.
- In Laravel Forge, navigate to the "My Account" page.
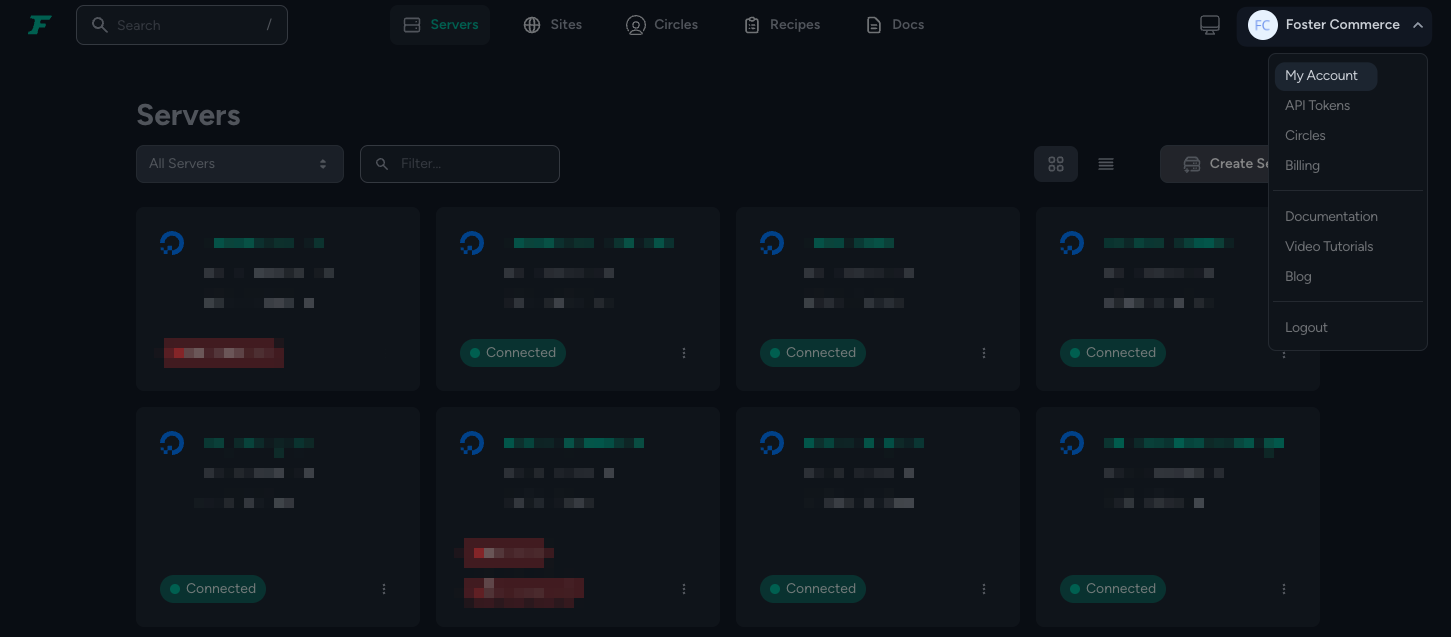
- On the "My Account" page, navigate to "Server Providers" and then click "Provide API Token"
- Ensure "DigitalOcean (2.0)" is selected, and enter the clients name and paste the token into the relevant fields.
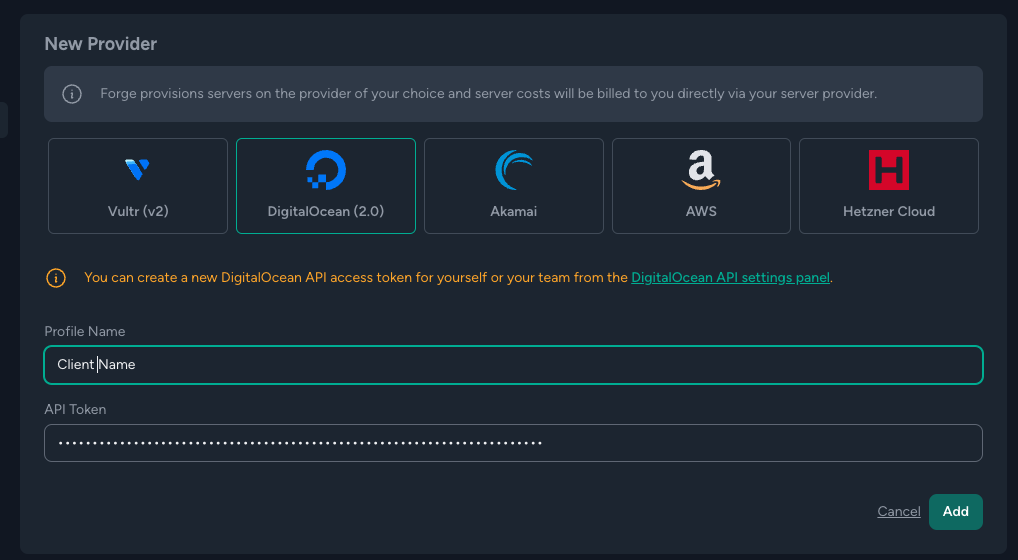
- Click "Add"
- You'll now have new entry in the "Server Providers" list.
